Prototyping Interactive User Flows
Master Figma’s prototyping tools to create realistic interactive flows. Discover how to connect screens, add animations, and test user interactions before development.
Why Prototyping Matters in Design
Building interactive prototypes isn’t just about showing what your design looks like — it’s about proving how it actually works. When you’re designing apps or websites, static mockups only tell half the story. Users need to understand the flow, the interactions, and how everything connects together.
That’s where Figma’s prototyping features come in. They let you create clickable, interactive prototypes that feel almost like the real thing. You can test user flows, identify problems early, and get meaningful feedback before a single line of code gets written. It’s not just faster — it’s smarter.

Getting Started with Connections
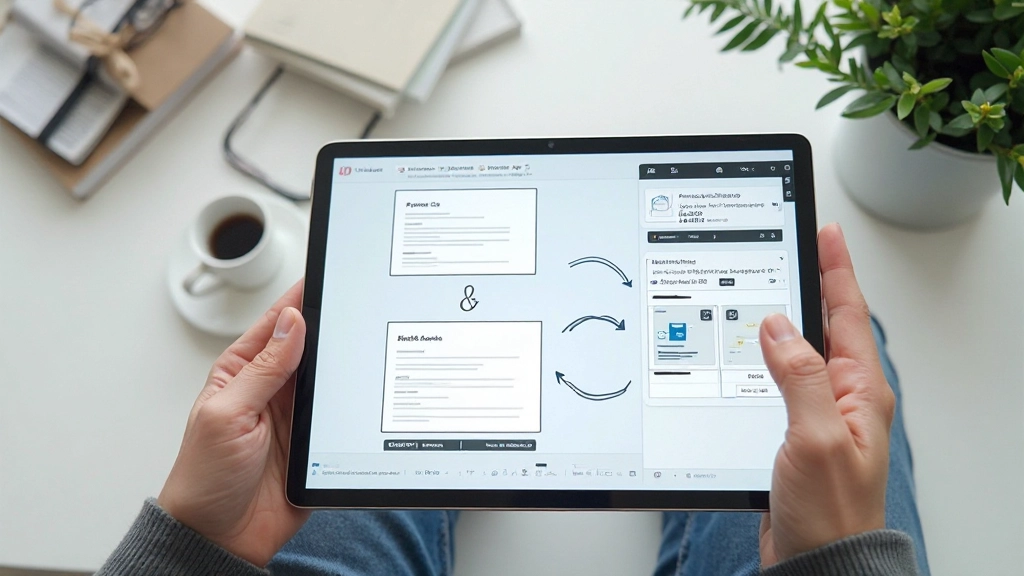
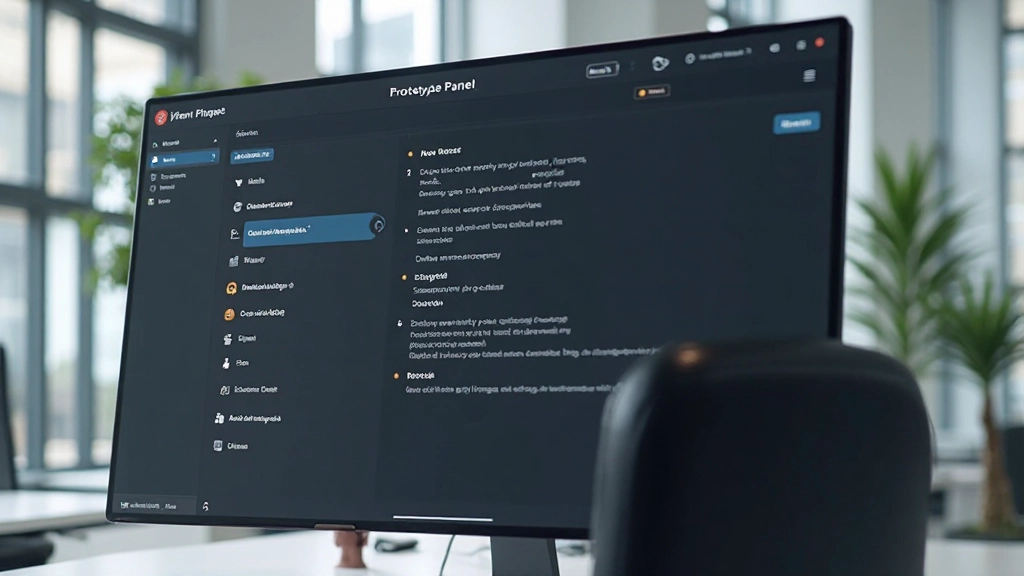
The foundation of any interactive prototype is creating connections between frames. In Figma, you’re working with the Prototype panel — it’s your control center for everything interaction-related. Think of it like building a map where each frame is a destination and connections are the routes users can take.
Start by selecting a layer or component you want to interact with. Then open the Prototype panel on the right side, and you’ll see the option to add a trigger. Most commonly, you’ll use “On click,” which means when someone taps or clicks that element, something happens. From there, you choose the destination — which frame should appear next? Should it animate smoothly, or fade in instantly?
The magic happens when you string these together. A button on the login screen connects to the dashboard. A menu icon opens a navigation panel. A form submission shows a success message. Each connection builds your user’s journey, and suddenly your static design becomes something people can actually experience.
Animations That Feel Natural
Connections get you from point A to point B, but animations make the journey feel intentional and smooth. Figma gives you several animation types, and each serves a different purpose. A “Dissolve” transition works great for modal dialogs appearing. A “Slide” animation feels right for pushing content from one side of the screen. A “Push” effect suggests something forcefully taking over the screen.
The timing matters more than you’d think. A 200-millisecond transition feels snappy and responsive. Jump up to 500 milliseconds and it starts feeling sluggish. Easing options like “Ease in out” create smoother, more natural movement than linear transitions. You’re not just moving elements around — you’re choreographing an experience. When someone opens your prototype, the animations should feel intentional, not random.
Pro tip: consistency wins. Use the same animation style throughout your prototype. If you’re dissolving modals everywhere, don’t suddenly use a slide transition on one. Users start recognizing patterns, and that familiarity builds confidence in your design.
Beyond Basic Clicks
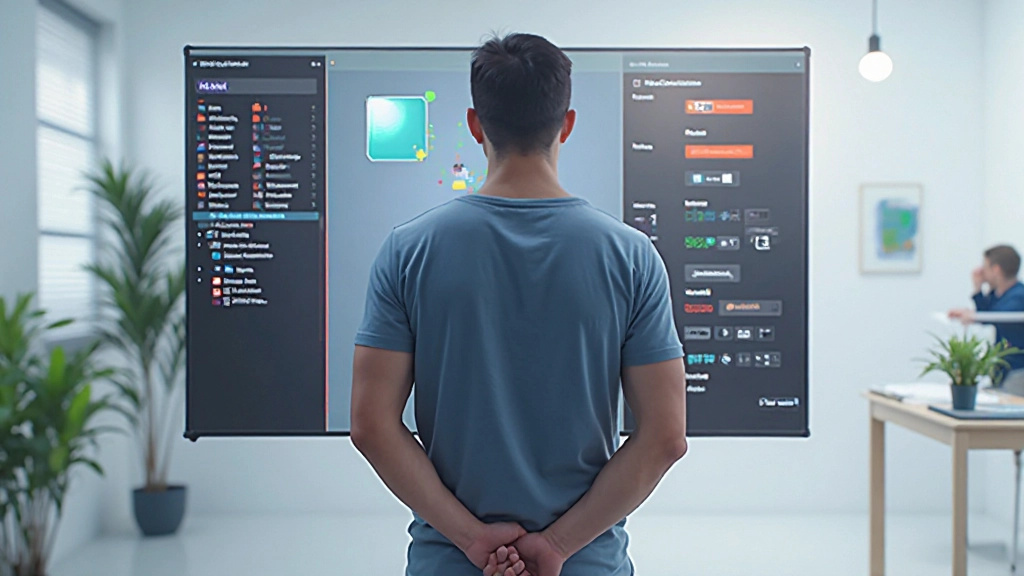
Once you’ve mastered click interactions, Figma opens up more sophisticated triggers. You can set interactions for hover states — perfect for showing tooltips or changing button colors without requiring a click. Drag interactions let you prototype things like swiping through a carousel or dragging a slider. Key presses let you trigger actions when someone hits the spacebar or arrow keys.
Component variants become especially powerful here. Create a button with multiple states — default, hovered, pressed, disabled. In your prototype, you can use interactions to switch between these variants based on user actions. Suddenly your prototype doesn’t just navigate between screens; it shows how individual components behave and respond.
Conditional interactions are where things get really interesting. You can set up prototypes that respond differently based on what the user does. Select an option from a dropdown, and the prototype shows different content. This level of interactivity makes testing feel like using the actual product, not just clicking through static screens.

Testing Your Prototype
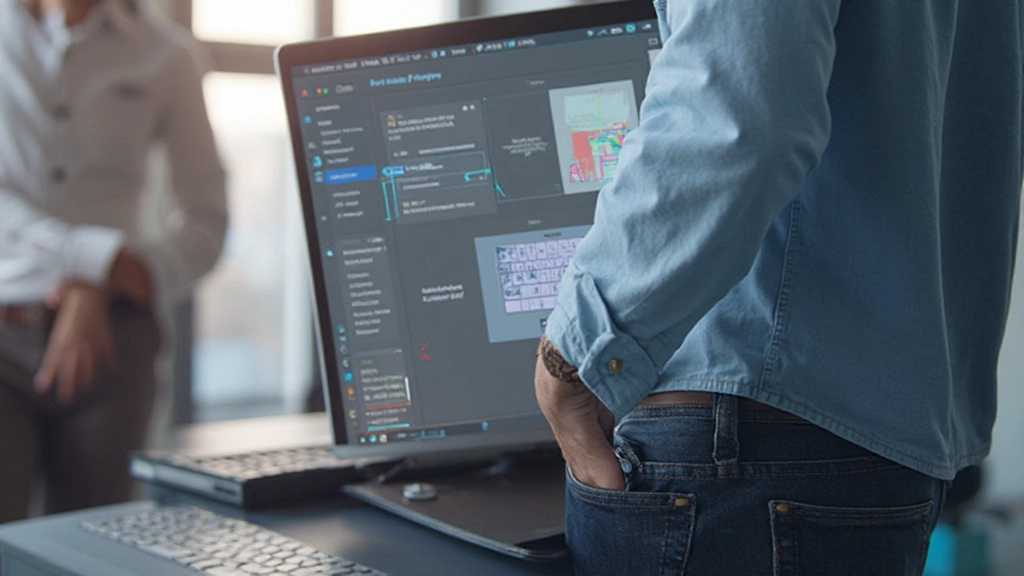
Once you’ve built your interactive flows, you need to actually test them. Figma makes this dead simple. Click the play button in the top right of the canvas, and you’re in presentation mode. Your prototype is now live. Click things, drag elements, trigger interactions — experience exactly what users will experience.
This is where problems reveal themselves. You discover that a transition you thought was smooth actually feels jerky. You realize a button’s location makes sense on desktop but is impossible to reach on mobile. You find that the flow from signup to dashboard doesn’t actually feel right. These insights are gold — they’re the whole reason you prototype before building.
Share your prototype with team members and stakeholders using Figma’s share link. They don’t need Figma open; they just click a link and can interact with your design. Collect feedback, identify edge cases, and iterate quickly. What used to take days of development can now be tested and refined in hours. That’s the power of interactive prototyping done right.
Making Interactive Flows Your Superpower
Mastering Figma’s prototyping tools transforms how you design. You’re no longer just creating beautiful static images — you’re designing experiences. You’re proving that your ideas actually work before handing them off to developers. You’re getting real feedback from real testing instead of guessing what users might do.
Start simple with basic click connections between frames. Add animations that feel natural and intentional. Experiment with advanced triggers like hover states and drag interactions. Test thoroughly and iterate based on what you learn. This process becomes faster and more intuitive the more you practice.
The designers who master prototyping ship better products. They catch problems early. They communicate more effectively with developers. They have data to back up their design decisions. If you’re serious about improving your design skills, interactive prototyping in Figma isn’t optional — it’s essential.
Related Articles


Important Note
This article is educational material designed to help you understand Figma’s prototyping features and best practices. The techniques and workflows described are based on current Figma functionality as of February 2026. Software features and interfaces change over time, so we recommend verifying specific steps within your current version of Figma. Everyone’s design process is unique — use these guidelines as a foundation and adapt them to your team’s needs and project requirements.